Azure AD Series – 1: Centralised Identity access management and Azure active directory
In older applications, we see that we used to follow a form-based authentication methodology where the user is provided with a login form and they enter their username and password and login into the system. This username and password is usually for that specific application and needs to be remembered and maintained for each of such applications.
Furthermore, this indicates that each of these applications manages usernames and password themselves. Now imagine an enterprise ecosystem where you have many enterprise applications (e.g. HRM, payroll, learning management, timesheets, etc), and what happens if you have to manage and remember passwords for each of these applications individually. It will be a nightmare of course…
That is the reason we usually don’t do that and the concept of centralized identity and access management (IAM) comes into the picture. There are many benefits of centralized IAM.
- Single sign-on across various applications (SSO)
- Centralized password policy management e.g. complexity, revocation, multi-factor authentication, conditional access, and many more.
- Identity life cycle management e.g when you leave an organization your access can be revoked from all the applications centrally. Imagine the management nightmare an IT admin will have to go through if they have to do this individually for all the applications.
Look at this article to get a full picture of centralized identity management.
There are many cloud-based identity and access management solutions available in the market e.g. Okta, Ping, Azure active directory, AWS IAM, etc.
In this series of posts, I will discuss on azure active directory and how to use it to provide authentication to different kinds of applications you are developing.
Application registration
The first step in enabling Azure AD-based authentication is to let azure know that you have an application that would like to authenticate using Azure AD and that is done through an application registration
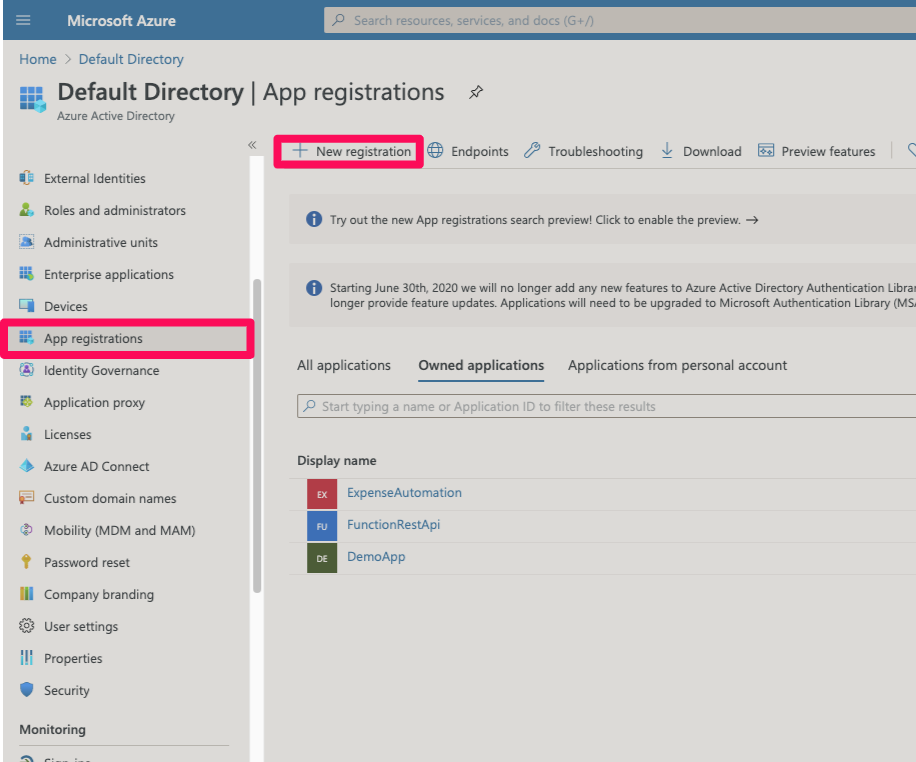
Login to portal.azure.com and go to Azure active directory > App registration > New Registration
Enter the name of the application. This can be anything.
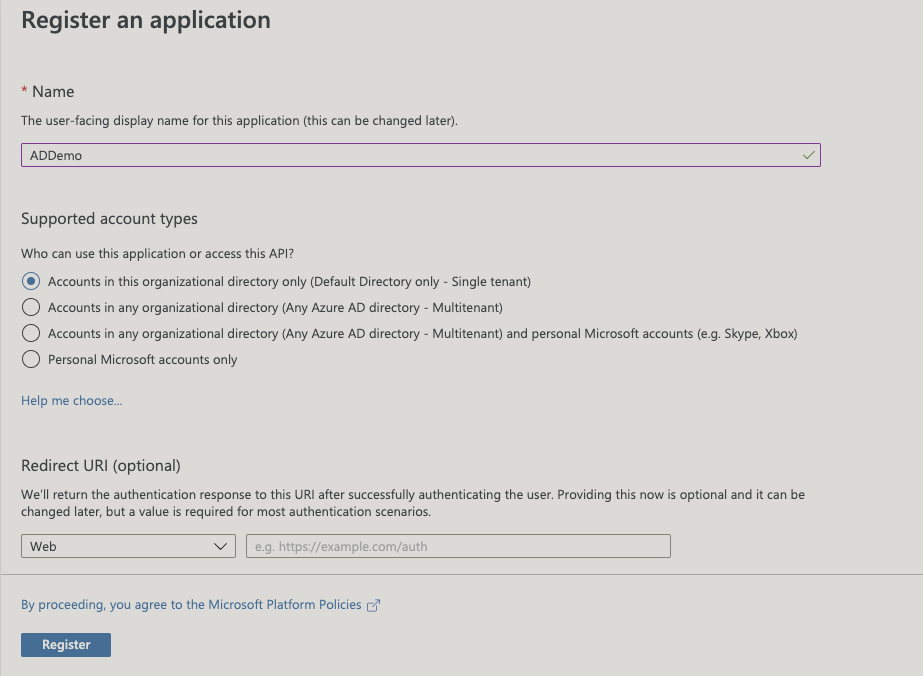
Next comes the supported account types. This is an important one and depends on what kind of application you are developing. Let’s go into each one of these options.
1. Accounts in this organizational directory only (Single-tenant): Select this option if you want this application to be available for one organization e.g. Let’s say you found one of the use cases or workflows in your organization that can be automated and you decided to build a web application for that. This application obviously is for your own organization and you should choose this option. Note that you can also provide access to external users using this option by inviting them as guests to your active directory.
2. Accounts in this organizational directory only (Multitenant): Select this option if you want to build a multi-tenant application that can be used by different organizations. E.g. let’s assume you are an App developer and you have an idea which can be the next big thing for enterprise expense management . In this case you would select a multi-tenant application option so that this application can be selected/purchased and configured by any organization i.e by using work and school accounts (more in later posts on how to do this). Commercial examples of this include dropbox for business, salesforce, etc.
3. Accounts in any organizational directory and personal Microsoft accounts: You would go for this option if you want to have your multi-tenant application accessible for both organizations as well as personal accounts i.e. if it solves a problem that is applicable for both enterprises as well as individuals.
4. Personal Microsoft accounts only: I think this is self-explanatory and you would use this option if your application is about personal use (i.e not an enterprise application) and you want to target personal Microsoft identities e.g. Skype, Xbox, etc.