RESTful CRUD API using Nodejs,express and mysql : Part 1 – Basic API setup
In this series of posts, I would be talking about how to build a full-fledged REST API using express from the scratch. This would start from a basic API set up to integrate the API to MySQL database using ORM and writing unit tests and integration tests for the same.
In this first post, the focus would be on setting up the sample project and creating a bare-bones health check endpoint.
As a pre-requisite, you need to have nodejs installed on your system.
Spin up a bare minimum http server
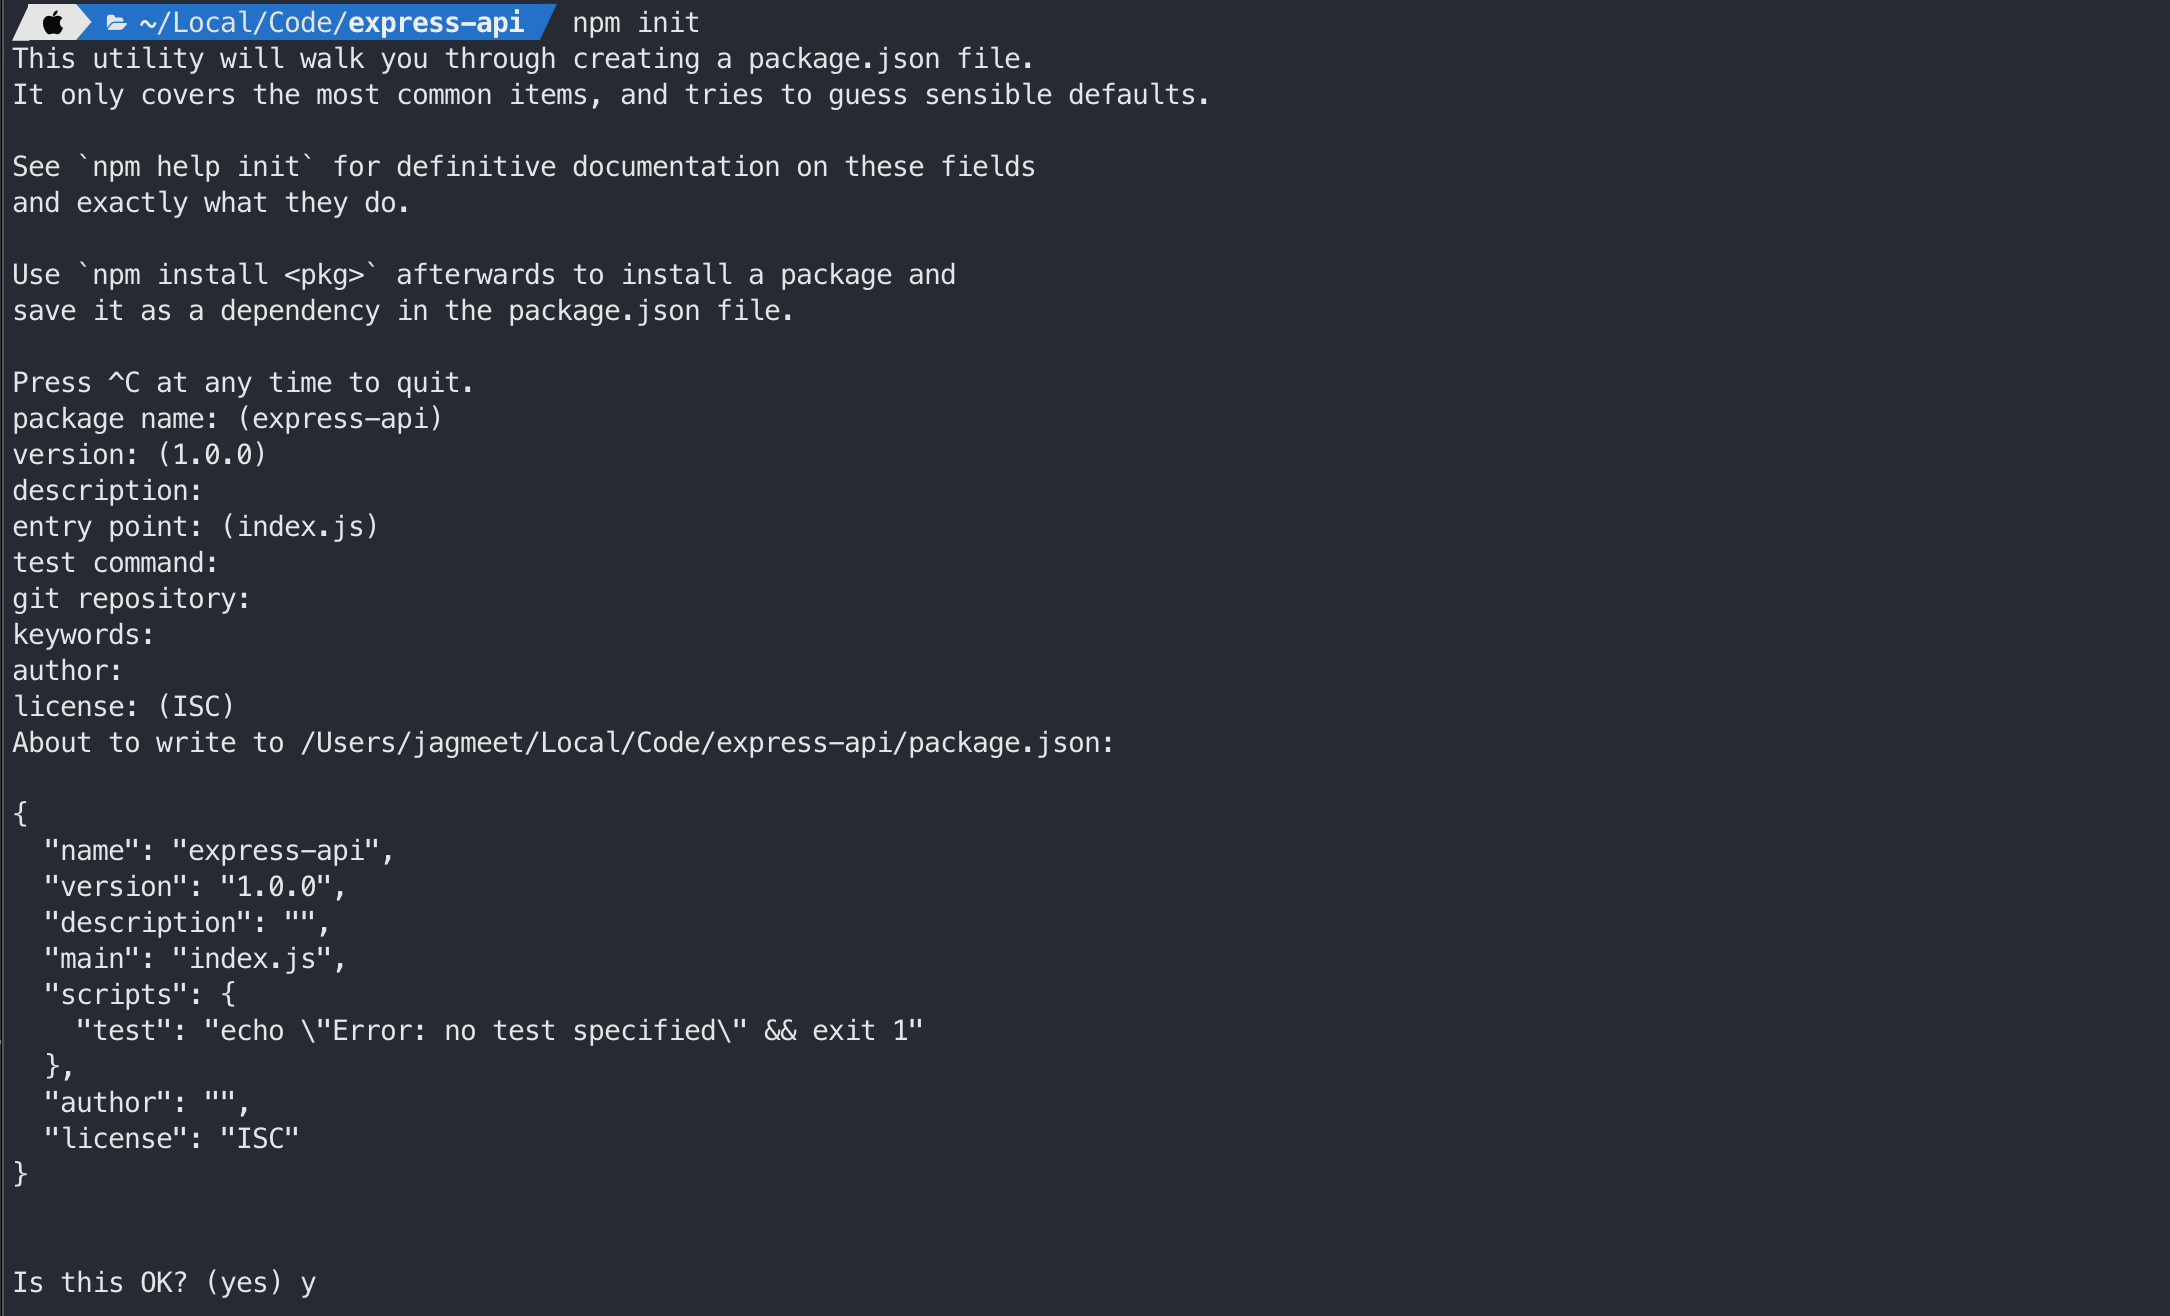
To get started let’s create a basic nodejs project using ‘npm init’ and choose all the default options.
Next step is to install Express package. Expressjs is a nodejs based web and mobile application development framework.

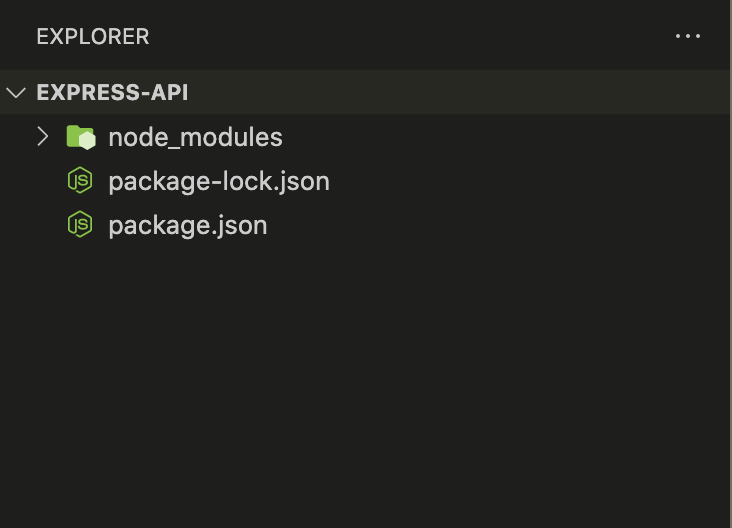
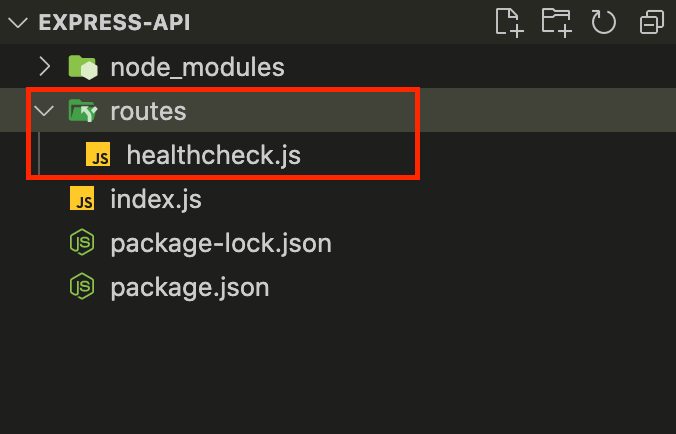
Now our basic project is set up and the folder structure would look something like this.
The next step is to create our startup file viz. index.js (the name is just a convention and can be anything). This file acts as our startup file and would be used to start our HTTP server.
const express = require('express');

const app = express();

app.server = app.listen(3001,()=> {
    console.log('Server running on port 3001...')
});
Code above is pretty simple where we create an object of Express and start listening for requests on port 3001. Once the server starts console would show the message ‘Server running on port 3001…’
At this point, we can simply run the following command on the terminal and the server would start.
> node index.jsBut a much better way and usual convention are to set this up as one of the startup scripts in our package.json as shown below.
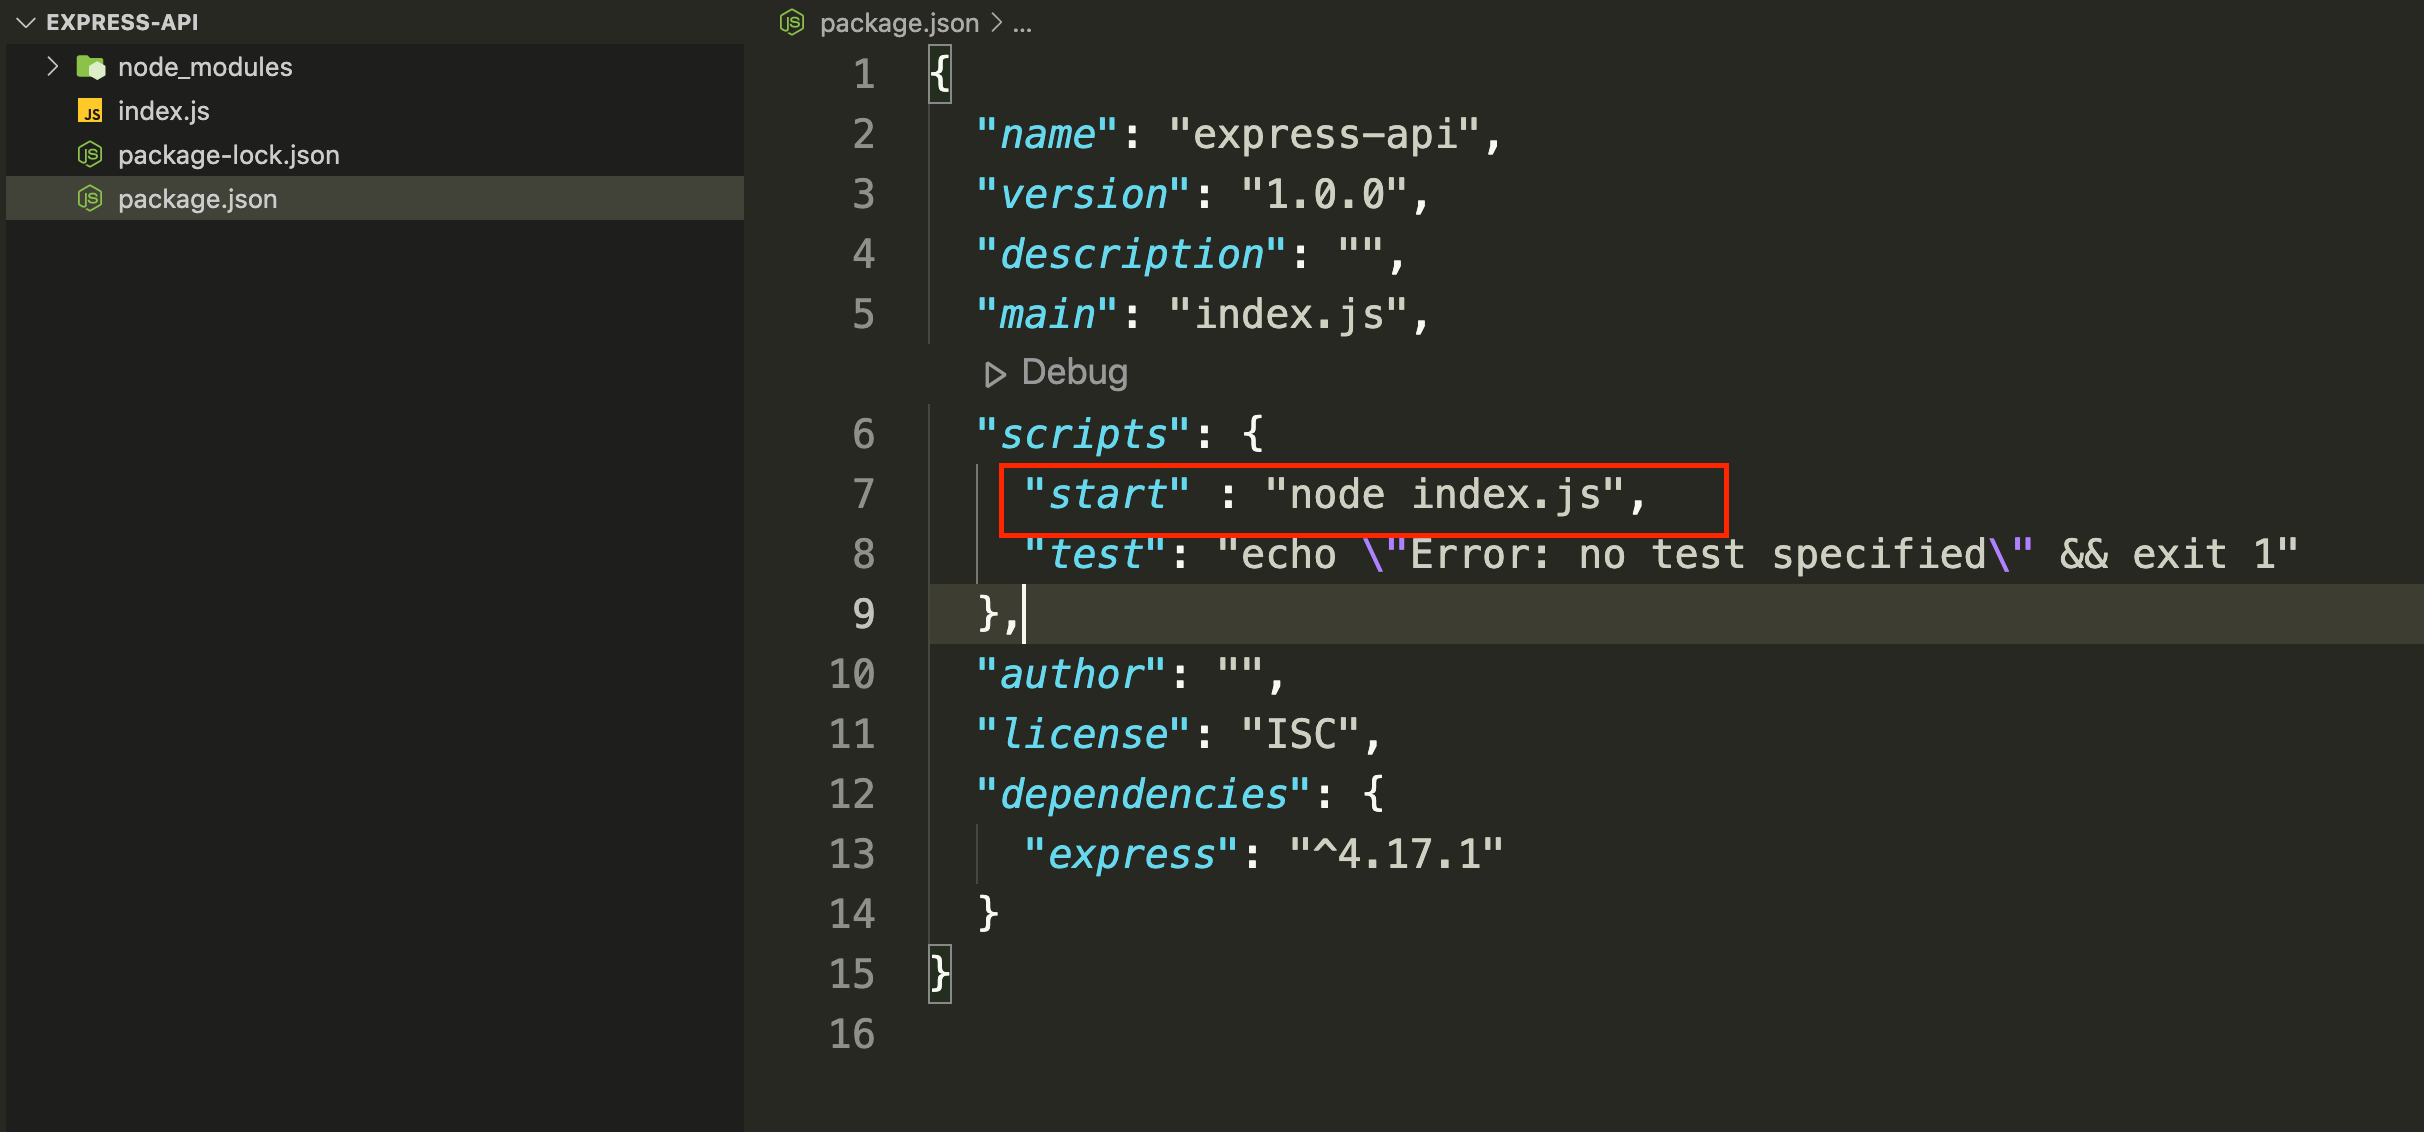
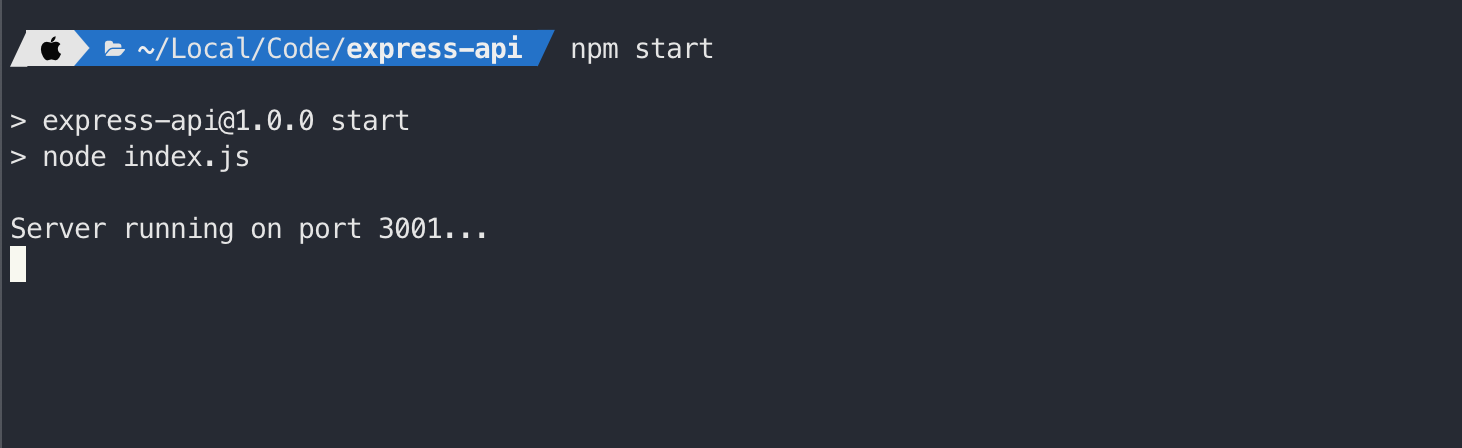
Let’s run ‘npm start’ now and your terminal output should indicate that server is started.
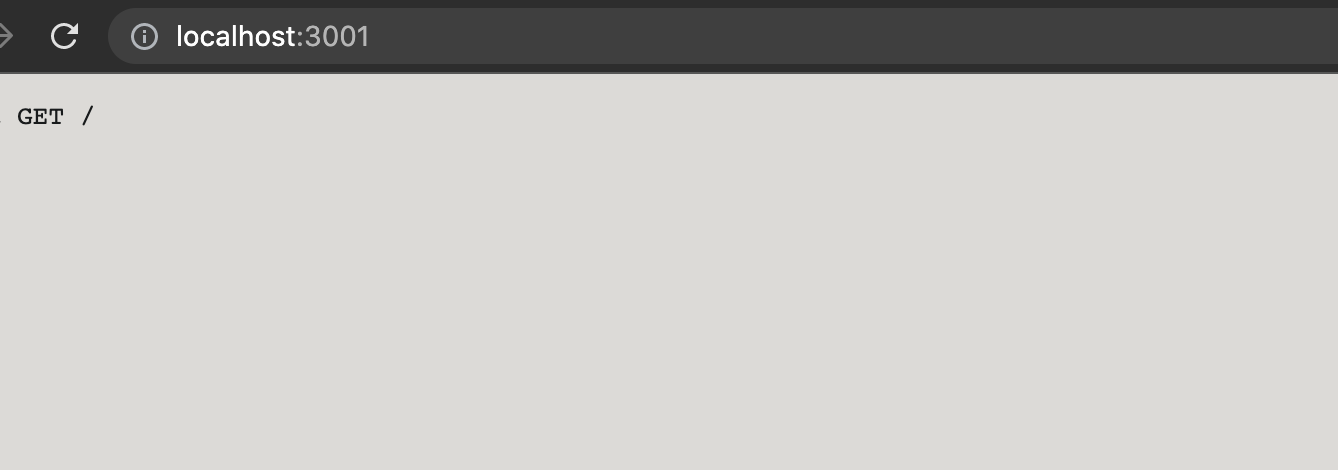
If you browse localhost:3001 in the browser it should look like below
Setup routing
Next, let’s see how to set up routing so that based on the URL routes we can trigger different functionalities.
In this section, we will set up a health check endpoint with route ‘/healthcheck’. Interestingly when you browse to localhost currently (above screenshot) it shows ‘GET /’ and indicates this as an error. The reason for this behaviour is that right now we are making a GET request and the route is ‘/’ and there is no handler for this route.
Let’s create a new folder ‘routes’ and a file ‘healthcheck.js’ under it.
And add the following code to healthcheck.js
const express = require('express');
const router = express.Router();

router.get("/",(req,res)=>{
    res.send("All OK.");
})

module.exports = router;
Here we create an object of Express router and define a handler for GET request (note that the route is ‘/’ and not ‘healthcheck’ ) which just returns ‘All OK.’
Now we need to wire up the logic in the healthcheck.js file so that this acts as a module for all requests originating from the ‘/healthcheck’ route. This wiring will be done in index.js as shown below.
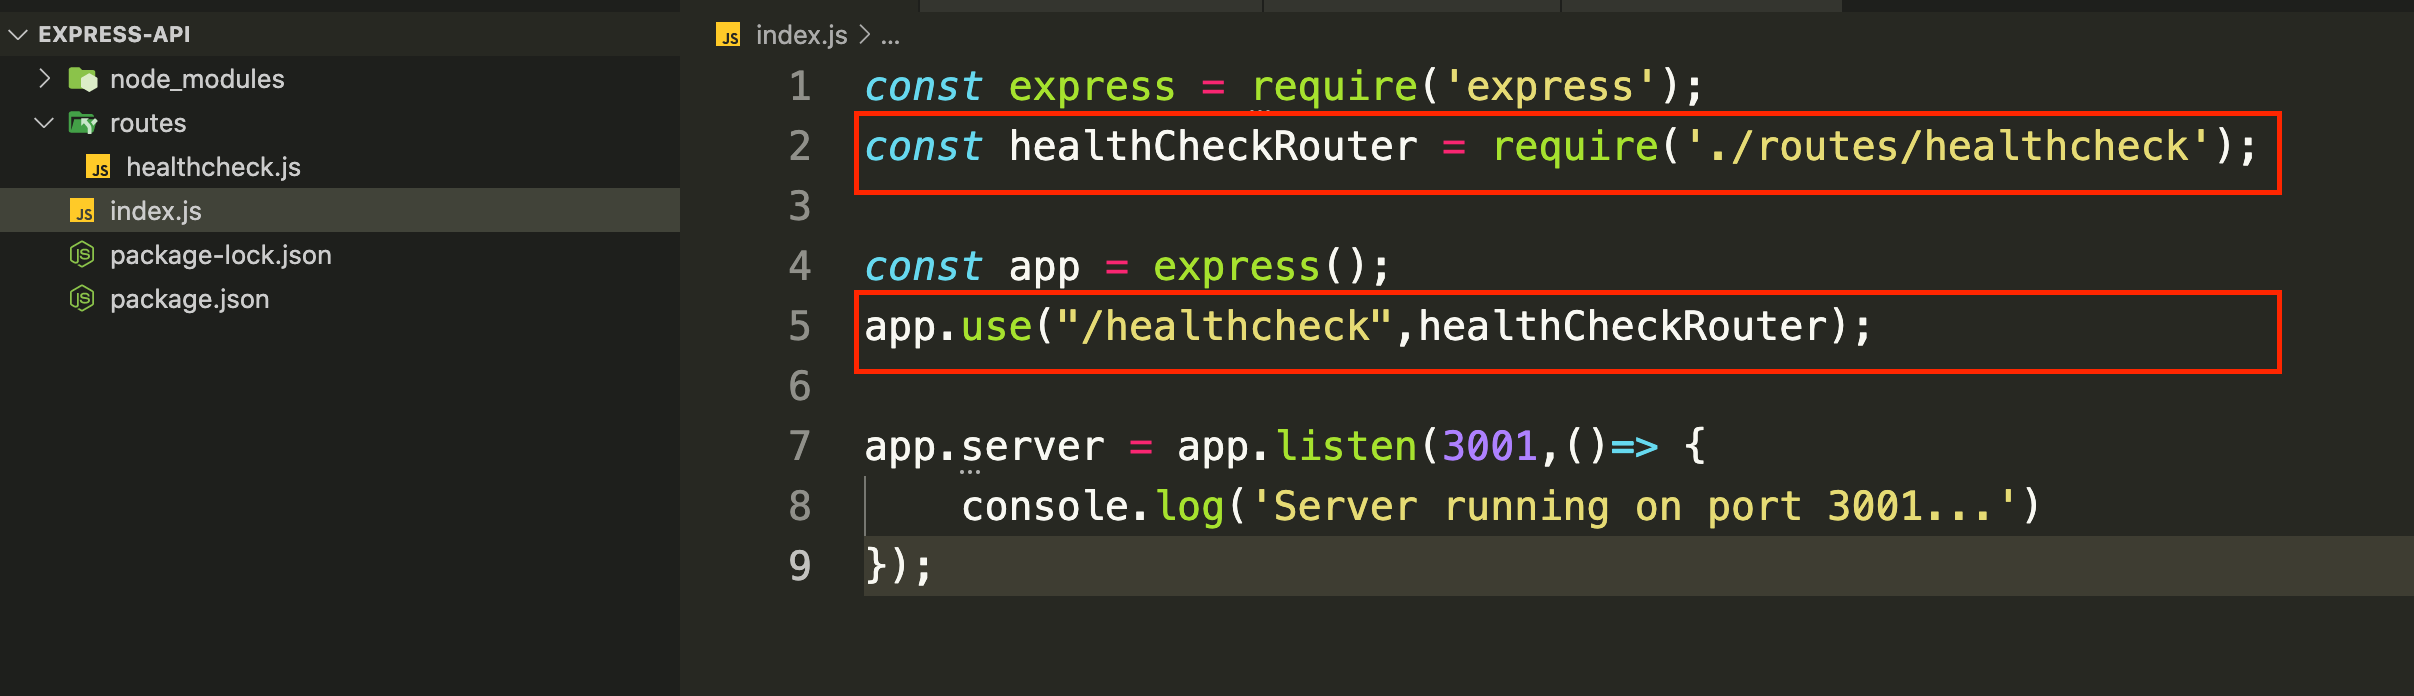
Here we inject our health check route logic as middleware using app.use.
Let’s browse to ‘localhost:3001/healthcheck’ and see what happens.

Now we can create many more complex routes as is the case with a real-world REST API. We will see how this is done as we go through the next set of posts on this topic.
Making stuff a bit more organized
Usually, it’s a good idea to keep your actual API logic separated from your routing i.e. to keep routing and route handling in separate modules (i.e. files). This makes your route handling logic testable and organized.
I prefer it by extracting all the logic in controllers which are then called from the router.Let’s see how this is done.
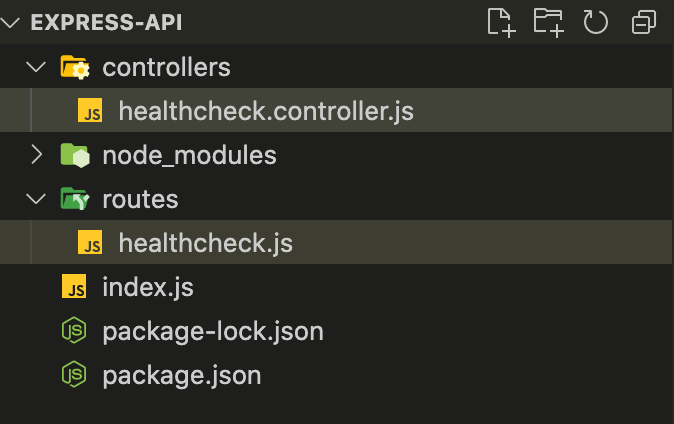
Create a new folder ‘controllers’ under root and add a new file called ‘healthcheck.controller.js’
Extract the route handling logic in healthcheck.controller.js
const get = async (req,res) => {
    res.send("All OK.");
}

module.exports = {get}
and call this logic in healthcheck.js

This refactoring makes sure that we can easily unit test our route handling i.e. controller logic. This will be quite evident when we look at unit testing the logic in the next set of posts.
All the code for the part 1 is available here.If you are looking into a deep dive into nodejs i.e. basically going from beginner to advanced level do checkout this pluralsight skills path.
In the next post, we would start looking into integrating our code with MySQL database.
Pingback: RESTful CRUD API using Nodejs,express and mysql : Part 2 – Integrate with MySQL database using ORM | Coding Canvas